Saturday, January 7, 2012

Gung Hei Fat Choi!

Happy Chinese New Year!  As you all know from my previous post, Chinese New Year is on January 23, 2012.  This is the year of the dragon.  I made these Chinese New Year Cards to give to my parents and my siblings.  My youngest DS has asked for a card as well.  I am going to make his special and will post that at a later date.

I used my Dreamweaver Stencil and applied embossing paste all over the stencil.  Gently lift your stencil up and apply glitter all over.  I then spray varnished – gave it 3 coats so that my glitter won’t rub off and let dry over night. 
 I had wanted to add some other Chinese elements such as a Chinese coin, but only had one (in fact my oldest DS gave his up for my cards) and I couldn’t bring myself to use it – although, I may add it as an element to his special card.  I would have gone back to my local stamp store, but seeing that I had already been there twice, I thought I should stay put and see if I could find something else to use.  They would have thought that I was crazy!
 So instead, I added the rhinestones to the eyes to give it a more fiercer look and in two instances, I used brads just to see what it would like.

I made different colour variations.
This one has got to be my favourite one – even though black, ivory and gold are not the traditional colours for Chinese New Year.  But oh well, you can’t win them all.
 What do you do when you don’t have Chinese DS paper to use?  Well, I used some of my old DS paper that was not being used like the picture below, and stamped it using my Chinese Calligraphy stamp.
 I hope you have enjoyed this post as much as I had fun creating the cards!

Supplies:
Stamps:    All Night Media – Chinese Calligraphy

Ink:           Gold Embossing Ink, Real Red and Basic Black

Paper:      Black, Very Vanilla, Red Shimmer

Accessories:      Dreamweaver Dragon Stencil, Embossing Paste, Fine Glitter, Brads, Rhinestones
Thanks for stopping by!  I would love to hear your comments as to which one you prefer!  ~ Pat

Thursday, January 5, 2012

Red Envelopes

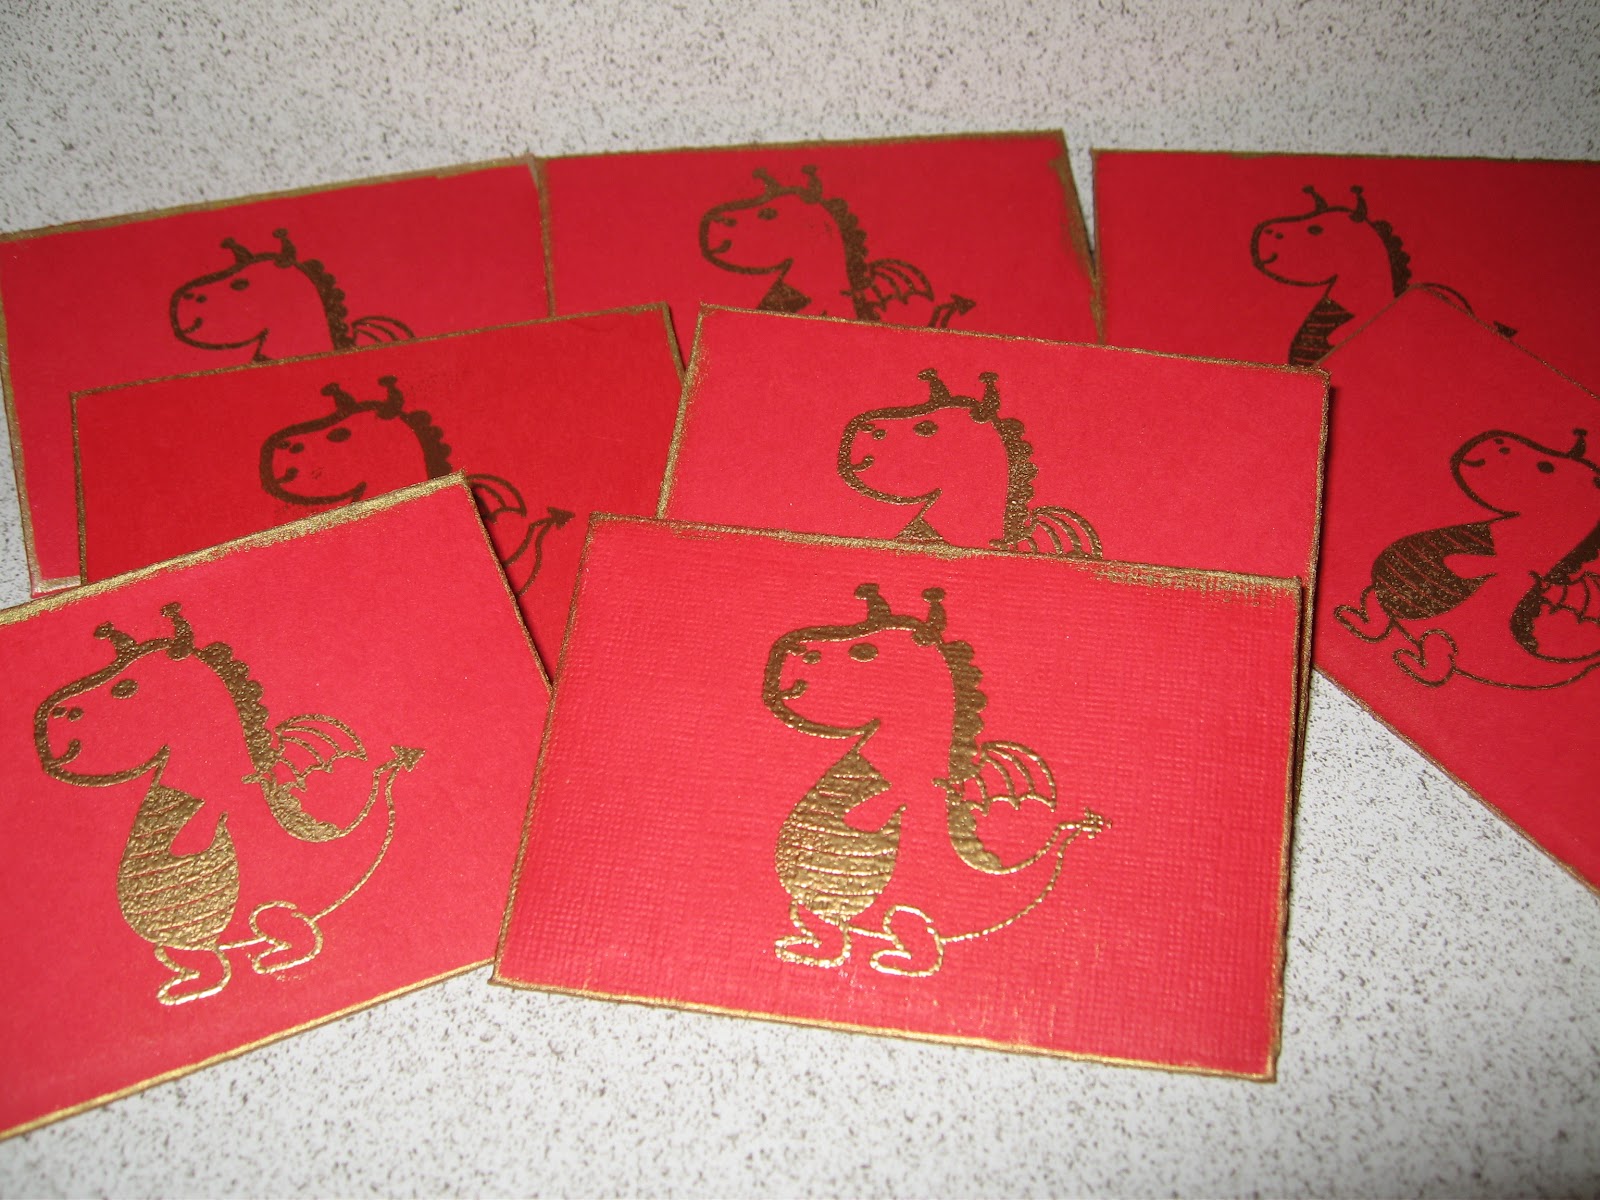
Chinese New Year is on January 23, 2012.  So rather than run out and purchase red envelopes from the local Asian store, I decided to make my own red envelopes.  It is tradition that all children in your family receive money for luck.  Between all my nieces and nephews and my own kids, I made eight little envelopes.
The envelope was made using the SU Scallop Envelope in real red. I edge each of the envelopes in gold to add a bit more bling.
This is the year of the dragon, so I thought it would befitting to stamp a little dragon on the front the envelope and gold embossed it.  Is this not the cutest little dragon you`ve ever seen? 
Here is a close up of the dragon- sorry it is a bit dark.
On the back, I stamped Happy New Year from the Teeny Tiny Wishes stamp set and also gold embossed it.  I hand penned the gold around the scallop.  I wish I had a stamp that said Happy Chinese New Year, but I guess you can`t have everything, so this will do.

I am working on some Chinese New Year cards to give to my mom and dad, and each of my brother and sisters and their family – just for some fun!  So stay tuned.  I think you will be impressed!

Recipe:

Stamp:  Imaginisce – Enchanted Collection

Paper:  Real Red cs

Ink:  Gold Metallic

Accessories:  Scallop Envelope Die, Gold Embossing Powder, Gold Gel Pen
Can you believe 2 posts in one day?  Thanks for stopping by and have a wonderful day  ~ Pat

Christmas Baking

I am just getting around to posting this now, but I did a bunch of Christmas Baking with the intention of giving away little care packages to various people.  I went hard for a whole week baking 2-3 three items a day (of course all the while, the boys were taste testing and giving their opinion).  So I think I went a little overboard, but I totally enjoyed it! 
These are just plates of my sugar cookies – a plate of stars


And a plate of giant snowflakes.


A plate of coconut shortbread


Here is the plate I put together to give to a good friend who was so kind to give me and the boys each a present, but I had no idea as to what to give them and thought, aha . . . something that they each can enjoy over the holidays without breaking the bank.
In total, I made up four of these plates – one for my sister-in-law – she hosted Christmas Dinner.  One to my long time girlfriend whom we visited on New Year’s Eve , one for my family as I hosted Christmas Eve dinner and of course the other to our good friends – both our boys are the same age and have grown up together.  

Thanks for stopping by ~ Pat 

Wednesday, January 4, 2012

Bridal Favours

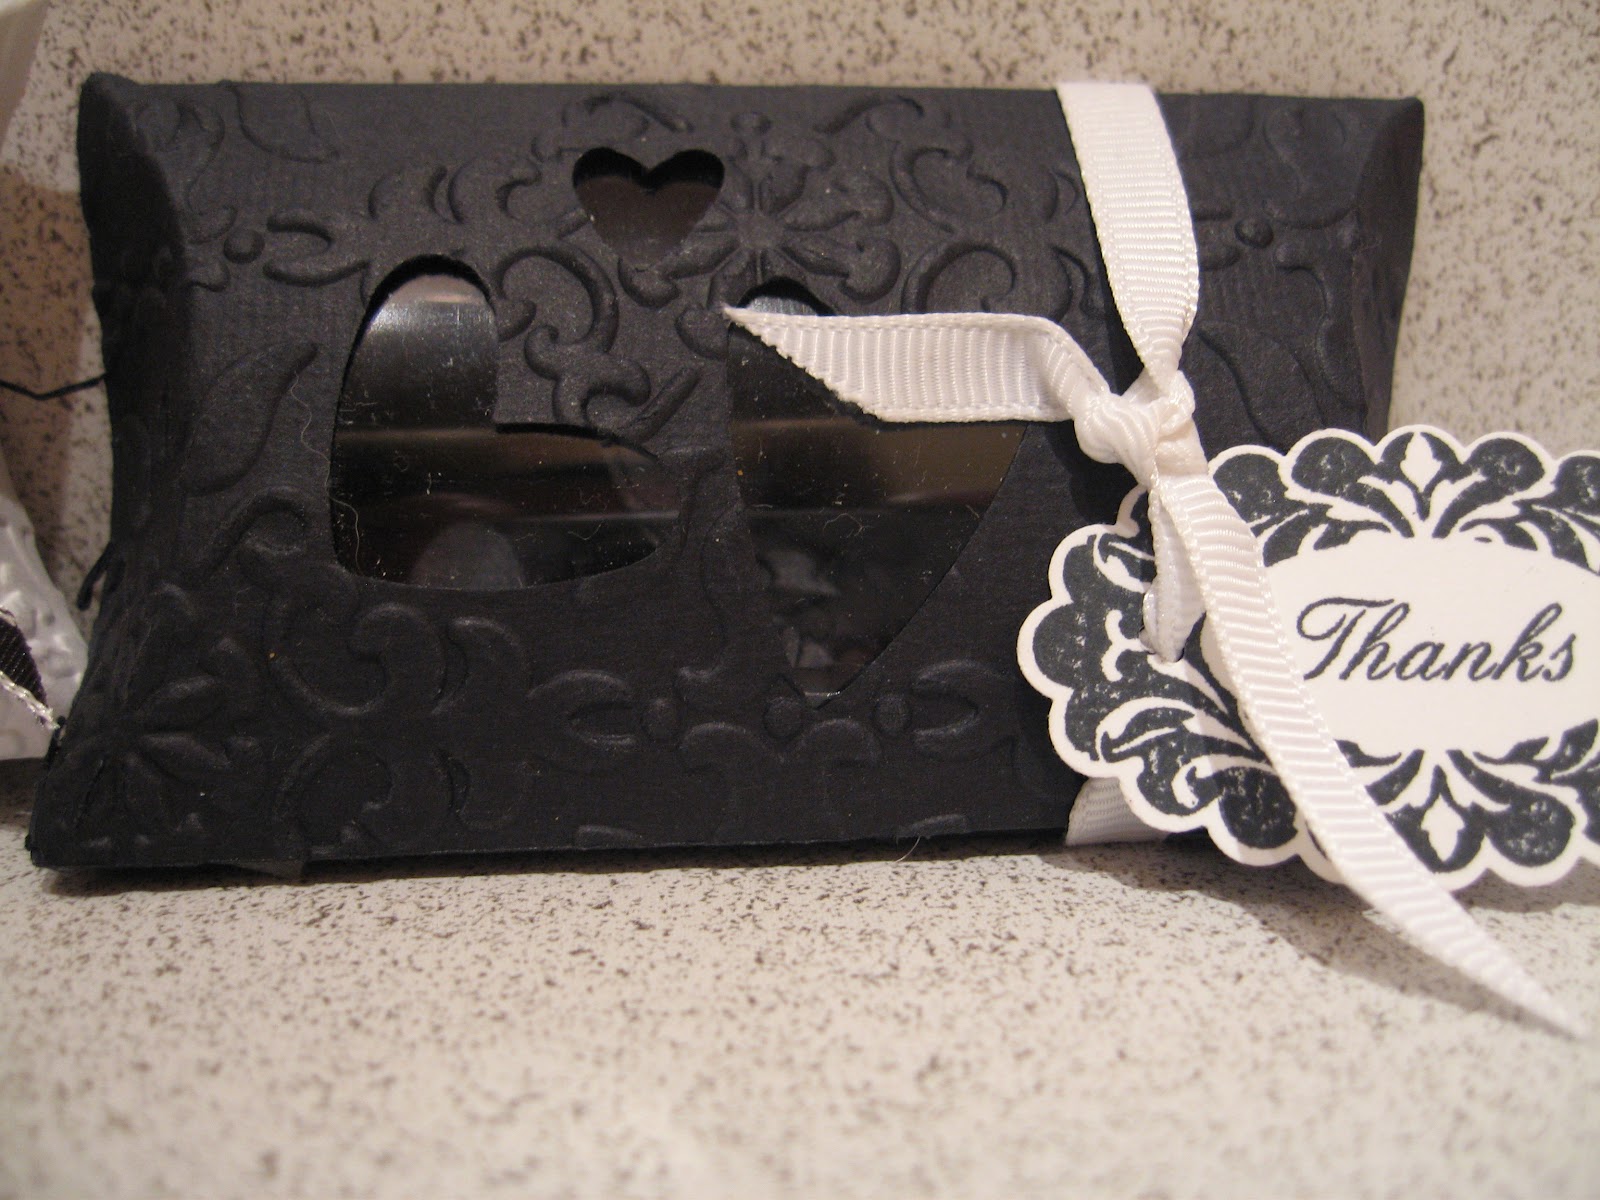
Before Christmas, I was asked by a local coffee distributor to design some Bridal Shower favours for her to give away at an upcoming Bridal Convention.  These were to hold individual packets of coffee, tea or hot chocolate.  As there was no theme, we decided to go black and white to keep it simple.  Below is the combination of what I created. 

I have also attached close up shots of the individual projects.
Mug:
   
Pillow Boxes - I made a white one as well, but the black took a much better photo than the white:

Tea Bag Holder:
I
nside of the tea bag holder:

Recipe:
Stamps:    Together Forever, Perfect Punches
Paper:       Black CS, White CS, designer paper – non SU
Ink:           Black
Accessories:      Leaves a la Carte Jumbo Wheel, Heart to Heart Punch, Vintage Wallpaper Embossing Folder, Scallop Oval Punch and sticky strip
Drop me a line and let me know your thoughts. 
Thanks for stopping by ~ Pat.

Sunday, January 1, 2012

Peek-a-Boo Notes

Happy New Year!  Here is a little thank you card I made to include with the orders from my group.  I cased Becky Roberts peek-a-boo Thank You Notes!  I had purchased the peek-a-boo die cut and had absolutely no idea what do with it until Becky`s post. 

The only thing I changed was running the stocking through the Big Shot Snow Burst Embossing Folder to give the stocking a bit of texture.  Otherwise, these are an exact copy of Becky`s.

I also created a little card using the peek-a-boo die cut for each of my ladies.
Hope they enjoy it!
Recipe:

Stamps:  The Snowflake Spot (retired), To You & Yours
Paper:  Cranberry Crisp, Whisper White, Frostwood Lodge DS

Ink:  Cranberry Crisp, Chocolate Chip

Accessories:  Peek-a-boo die cut; white organza ribbon

Friday, December 30, 2011

Thank You Corrugated Card

Hi everybody, I hope that everyone had a wonderful Christmas!  I did, but am glad that it is almost over!  I thought this would be a great time to reveal my other corrugated cardstock creation.  A thank you card.  It is very femine with the pink and the lace and the layered scalloped borders to make it a very pretty card.  I punched the flower out and sponged it with Cranberry Crisp.  I also sponged the very vanilla cs and each of the scalloped border punch.  I checked with some of my cyber friends to see how their challenges were coming along, but as it was such a busy time of year, nobody got a chance to play.  So I am hoping that busyness will start to wind down and everybody will get a chance to play a bit.
Here is the
Recipe:
Stamps:
  Swirls & Curls Verses
Ink:  Cranberry Crisp
Paper:  Very Vanilla, Whisper White, Pink Pirouette
Accessories: lace, scallop punch, petal punch

Well thanks for stopping by, I wish everyone the best in the New Year!  Pat xoxo

Tuesday, December 6, 2011

Just a Little Note . . .Notes

Why does it seem that whenever December rolls around, life gets really busy!  Thanks to Becky Roberts, I made a set of card notes to include with the teacher`s Christmas gift (this will form part of her gift).  These are single card fronts to use for quick notes and thank you`s.

As I didn`t have the scalloped ribbon, I used my dotted scalloped punch to create the green border and I changed my image to a candy so that in case she didn`t get a chance to use it in December, she can always use it in January.

 Recipe:

Stamps:  Jolly Bingo Bits, Just a note (Hero Arts)

Ink:  Basic Black and Real Red

Paper:  Real Red, Whisper White & Holly Berry DS

Accessories:  1-1|4 and 1-3|8 Circle Punch, Scallop Circle Punch


Thanks for stopping by~

Pat